Move-out appliance cleaning is defined as the thorough interior and exterior cleaning of all major kitchen appliances to meet landlord inspection standards and protect your security deposit. This process covers four core appliances: the oven, refrigerator, microwave, and dishwasher. Each requires attention beyond a quick wipe-down. Landlords and property managers inspect these units closely, and missed areas like door seals and filters are among the most common reasons renters lose part of their deposit. Understanding what appliance cleaning includes during moveout means knowing exactly which surfaces, components, and hidden spots require your attention before you hand over the keys.
What does appliance cleaning include during moveout?
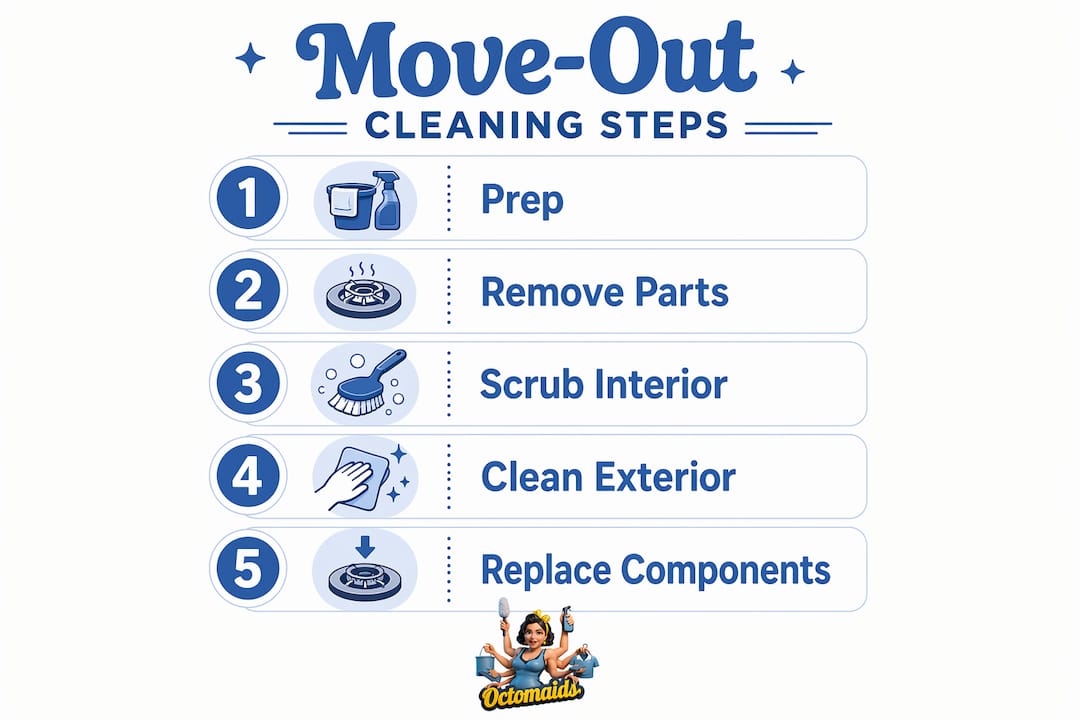
Move-out appliance cleaning covers every surface a landlord or inspector can see, touch, or smell. That means interior walls, removable components, seals, filters, and exterior panels. The standard industry term for this level of work is “move-out deep cleaning,” and it goes well beyond the routine wipe-down most renters do on a weekly basis.
Here is what a thorough appliance cleaning checklist covers for each major unit:
Oven
- Interior walls, ceiling, and floor of the cavity
- Oven racks (removed and cleaned separately)
- Door glass, including the interior pane where grease bakes in
- Bottom drip areas and seams along the edges
- Exterior control panel and handle
Refrigerator
- All interior shelves and drawers, removed and cleaned individually
- Interior walls and ceiling
- Door seals and gasket folds
- Drip tray underneath the unit
- Exterior surfaces and top panel
Microwave
- Interior ceiling, sides, and floor where grease splatters accumulate
- Turntable plate and ring (removed and washed)
- Door interior and seal
- Exterior top, sides, and control panel
Dishwasher
- Interior tub walls and spray arms
- Filter, door edges, and rubber gaskets where mold builds up
- Door interior and the area around the latch
- Exterior panel and handle
Pro Tip: Start your appliance cleaning two to three days before your move-out date. Cleaning products like Bar Keepers Friend, Easy-Off oven cleaner, and white vinegar work better when given time to soak, and you will not feel rushed.
Which appliance areas cause the most inspection deductions?
Landlords do not just glance inside an oven and move on. They check the spots renters consistently skip, and those spots cost money.
The most commonly missed areas, based on 2026 move-out inspection checklists, include:
- Refrigerator door seals: Black mold in door seals is one of the most frequently cited deduction reasons. Moisture collects in the gasket folds, and mold grows fast in those creases.
- Dishwasher filter and rubber gaskets: Most renters never touch the dishwasher filter. It sits at the bottom of the tub and traps food debris for months. Seals and filters are noted on professional checklists as high-risk areas.
- Oven door glass interior: The glass between the oven door panels collects grease that is invisible from the outside. Baked-on grease in seams and under racks is where oven inspections most often reveal cleaning failures.
- Microwave ceiling and side walls: Grease splatter travels up and sticks to surfaces renters rarely look at directly. Microwave grease buildup inside is a noted focus area on professional cleaning checklists.
- Oven seams and bottom drip areas: The edges where the oven floor meets the walls collect carbonized grease that a standard wipe will not remove.
“Cleaning seams, filters, and door gaskets of appliances is a subtle but critical part of move-out cleaning that renters often overlook, leading to deposit deductions.” — Three North Clean
The pattern here is consistent. Renters clean the obvious surfaces and skip the edges, folds, and filters. Those are exactly the spots inspectors check first.
How to safely remove and clean appliance components
Removing parts before cleaning is not optional for a thorough job. It is the difference between a surface clean and a genuine deep clean. Here is how to handle each appliance safely:
-
Refrigerator shelves and drawers: Pull each shelf and drawer out completely. Wash them in warm soapy water in the sink, or use a spray cleaner and let them soak for five minutes before wiping. Never use boiling water on glass shelves because the temperature change can crack them. Dry each piece fully before replacing.
-
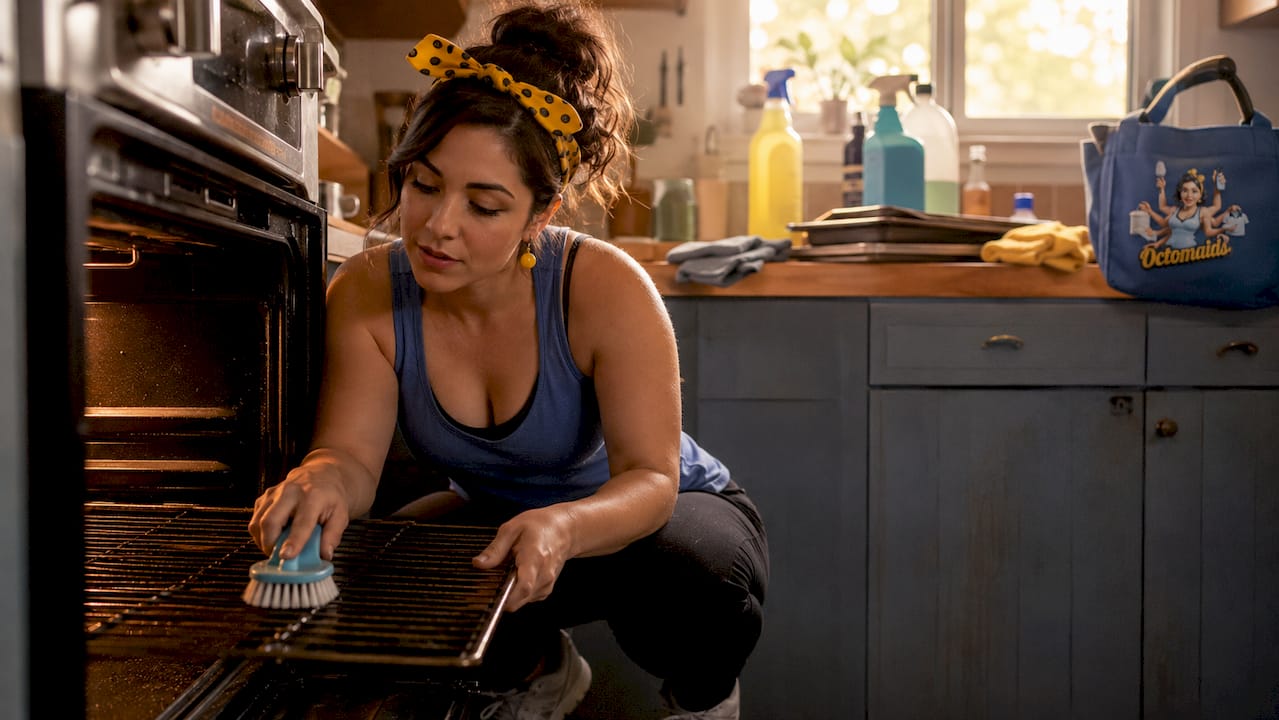
Oven racks: Slide racks out and place them in a bathtub lined with old towels. Apply Easy-Off or a baking soda and dish soap paste, let it sit for 30 minutes, then scrub with a non-scratch pad. Rinse thoroughly and dry before returning them to the oven.
-
Dishwasher filter: Twist the cylindrical filter counterclockwise and lift it out. Rinse it under running water and use a soft brush to remove trapped debris. Soak it in white vinegar for 10 minutes if there is mineral buildup. Reinstall by twisting clockwise until it locks.
-
Rubber gaskets and door seals: Do not pull or stretch gaskets to remove them. Instead, fold them back gently with your fingers and clean inside the folds with a cotton swab or old toothbrush dipped in a diluted bleach solution. This removes mold without damaging the seal.
-
Microwave turntable: Lift the glass plate and the ring beneath it out of the unit. Wash both in the sink with dish soap. Wipe the cavity floor where the ring sits, as grease collects in that groove.
Pro Tip: If you are unsure whether a component is meant to be removed, check the appliance model number and search the manufacturer’s manual online. Forcing a part that is not designed to detach can cause damage you will be charged for.
After replacing all components, do a final wipe of the surrounding edges and seals. This catches any cleaning product residue that could leave streaks or residue for the inspector to find.
Professional vs. DIY moveout appliance cleaning: which is right for you?
Both approaches can work. The right choice depends on your time, the condition of the appliances, and how much your deposit is worth.
| Factor | DIY Cleaning | Professional Cleaning |
|---|---|---|
| Cost | Low (supplies only) | Higher upfront, but protects deposit |
| Time required | 4–8 hours for all appliances | 1–3 hours with a professional team |
| Tools and products | Consumer-grade cleaners | Commercial-grade degreasers and steam equipment |
| Inspection confidence | Depends on thoroughness | Professionals follow landlord-standard checklists |
| Hidden area coverage | Easy to miss seals and filters | Trained to target high-risk deduction areas |
| Best for | Light to moderate buildup | Heavy grease, mold, or time-limited moves |
Professional move-out cleaning services, like those offered by Octomaids in Vancouver, WA and Portland, OR, use commercial degreasers and follow checklists that mirror what landlords actually inspect. That alignment matters. A renter who spends four hours cleaning and still misses the dishwasher filter or the oven door glass interior can lose more in deductions than a professional service would have cost.
DIY cleaning is a solid option when appliances are in reasonable condition and you have enough time to be methodical. The move-out cleaning checklist for renters from Octomaids gives you a room-by-room breakdown that mirrors professional standards, which helps close the gap between DIY effort and inspection results.
The honest calculation is this: if your deposit is $1,500 or more, the cost of professional appliance deep cleaning is almost always worth it.
Key takeaways
Thorough move-out appliance cleaning requires removing components, targeting hidden seals and filters, and cleaning every surface landlords inspect, not just the visible ones.
| Point | Details |
|---|---|
| Four appliances require deep cleaning | Oven, refrigerator, microwave, and dishwasher each need interior, exterior, and component-level cleaning. |
| Hidden areas cause most deductions | Door seals, dishwasher filters, and oven seams are the top inspection failure points for renters. |
| Remove components before cleaning | Shelves, racks, filters, and turntables must come out for a genuinely thorough clean. |
| Professional cleaning protects deposits | Commercial-grade tools and landlord-standard checklists reduce the risk of costly deductions. |
| Start cleaning two to three days early | Soaking agents work better with time, and early starts prevent last-minute oversights. |
What i have learned after years of move-out cleaning
After working with hundreds of renters preparing to leave their homes, I have noticed the same pattern repeat itself. People spend the most time on the surfaces they can see and the least time on the surfaces that actually matter to inspectors.
The oven is the clearest example. Most renters scrub the interior walls and call it done. But oven cleaning is often insufficient when the bottom surfaces under the racks and the glass door interior are skipped. Those are the first two places a landlord looks. I have seen renters lose $200 on an oven that looked clean from three feet away.
My honest advice: treat the appliance cleaning checklist like a pre-flight check, not a suggestion list. Every item exists because it has caused a deduction for someone before you. The refrigerator door seals are not on the list by accident. Gasket folds trap moisture and grow black mold faster than most renters expect, especially in humid climates like Portland and Vancouver, WA.
Timing also matters more than people realize. Clean appliances two to three days before your move-out date, not the night before. You need time to let cleaners soak, do a second pass on stubborn spots, and do a final inspection with fresh eyes. Rushing this step is how renters end up standing in an empty apartment at midnight scrubbing an oven with dish soap.
If you are short on time or the appliances are in rough shape, do not guess. Bring in professionals who clean to landlord standards. The cost is predictable. The deposit risk is not.
— Steven
Let Octomaids handle the hard part
Moving is already a lot to manage. The appliance cleaning alone can take most of a day when done properly, and one missed area can cost you more than the cleaning itself.
Octomaids has served renters in Vancouver, WA and Portland, OR since 2006. Our move-in and move-out cleaning service covers every appliance on the landlord inspection checklist, including the spots renters most often miss. We use commercial-grade products and follow a thorough process that gives you confidence walking into your final inspection. If you want a complete picture of what professional cleaning covers, our deposit checklist guide walks through every area room by room. Book with Octomaids and move out knowing the job is done right.
FAQ
What appliances are cleaned during a move-out service?
Move-out appliance cleaning covers the oven, refrigerator, microwave, and dishwasher. Each appliance requires interior, exterior, and component-level cleaning to meet standard landlord inspection requirements.
Does move-out cleaning include removing refrigerator shelves?
Yes. Professional move-out cleaning includes removing and individually washing refrigerator shelves, drawers, and drip trays. Cleaning these components separately is the only way to reach all interior surfaces thoroughly.
Why do landlords deduct for appliance cleaning?
Landlords deduct when appliances show residue, grease, or mold that indicates the unit was not returned in clean condition. Door seals with black mold and oven interiors with baked-on grease are the most common deduction triggers.
How long does appliance deep cleaning take for a move-out?
DIY appliance deep cleaning typically takes 4–8 hours depending on the condition of the units. A professional team can complete the same scope in 1–3 hours using commercial-grade equipment.
Should i clean the dishwasher filter before moving out?
Yes. The dishwasher filter is one of the most frequently missed items on a move-out cleaning checklist. Remove it, rinse it under running water, and soak it in white vinegar to clear mineral buildup before reinstalling.