


Unplug the lamp, let the bulb cool, and remove the shade before touching it with anything wet or dry. That single sequence prevents the two most common accidents: electrical contact and heat-cracked fabric. Once the shade is off, the best way to clean lampshades follows a short, repeatable pattern: dust first, test any liquid on a hidden area, spot-clean by applying solution to the cloth rather than directly to the shade, blot gently, and air-dry completely before reattaching.
Keep these tools within reach for an immediate clean:
- Lint roller — lifts pet hair and surface dust in seconds without moisture
- Microfiber cloth — safe on most materials; use dry for dusting, barely damp for spot work
- Soft brush or low-suction vacuum with a brush attachment — reaches pleats and seams without snagging
- Mild, dye-free detergent — a teaspoon in a bowl of lukewarm water is enough for most spot jobs
Pro Tip: Before using any water, peek at the inner seams. Glued shades show a clean, flat bond between fabric and frame with no visible stitching. Sewn shades have thread running along the seam. Water can soften glue and cause delamination, so glued shades need dry or barely-damp methods only.
Key Takeaways
Cleaning lamp shades safely comes down to three rules: identify the construction before using water, dust weekly to prevent buildup, and always air-dry fully before reattaching.
| Point | Details |
|---|---|
| Unplug and inspect first | Always unplug the lamp, cool the bulb, and check seams for glued vs. sewn construction before cleaning. |
| Dust every week | A weekly lint roller or microfiber pass prevents grime buildup and delays the need for deep cleaning. |
| Test before any wet method | Apply solution to a cloth, not the shade, and test on a hidden area for color transfer or adhesive softening. |
| Never soak glued or paper shades | Water softens adhesive and warps paper; glued and paper shades need dry or barely-damp methods only. |
| Air-dry fully, indoors | Allow at least 24 hours away from direct sunlight and heat before reattaching the shade to the lamp. |
Table of Contents
- How often should you clean lamp shades?
- Cleaning lamp shades by material: what actually works
- How to remove yellowing, mildew, grease, and ink stains
- Step-by-step deep cleaning for washable fabric shades
- Mistakes that cause permanent damage to lamp shades
- When should you hire a professional to clean a lamp shade?
- A practical view on keeping shades clean long-term
- Sources
- FAQ
How often should you clean lamp shades?
Wirecutter’s lighting experts make the case plainly: regular dusting prevents long-term yellowing and keeps you from needing aggressive interventions later. Dust settles on shades daily, and in kitchens, bathrooms, or homes with pets, it mixes with grease, humidity, and dander to form a grime layer that no lint roller can lift once it sets.
A practical maintenance cadence typically follows this guidance:
| Material | Weekly habit | Deep clean | Notes |
|---|---|---|---|
| Washable fabric (sewn) | Lint roller or microfiber | Every few months | Soak method safe if seams are intact |
| Glued fabric | Microfiber, dry only | Every few months | Spot-clean only; no soaking |
| Silk / delicate | Soft brush, feather duster | About twice a year | Dry methods only |
| Paper / parchment | Dry brush or art gum eraser | As needed | No water at all |
| Glass / plastic | Microfiber, damp | About once a month | Buff dry to prevent streaks |
| Metal / wicker / rattan | Dry brush, damp cloth | About twice a year | Dry thoroughly to prevent rust or mold |
Location matters as much as material. A shade in a kitchen picks up airborne grease and may need spot treatment monthly. Bathroom shades face humidity that accelerates mildew. High-pet households should run a lint roller weekly without exception. Architectural Digest’s guide recommends a weekly microfiber or feather-duster pass as the single habit that prevents buildup from ever reaching the point of needing a soak.
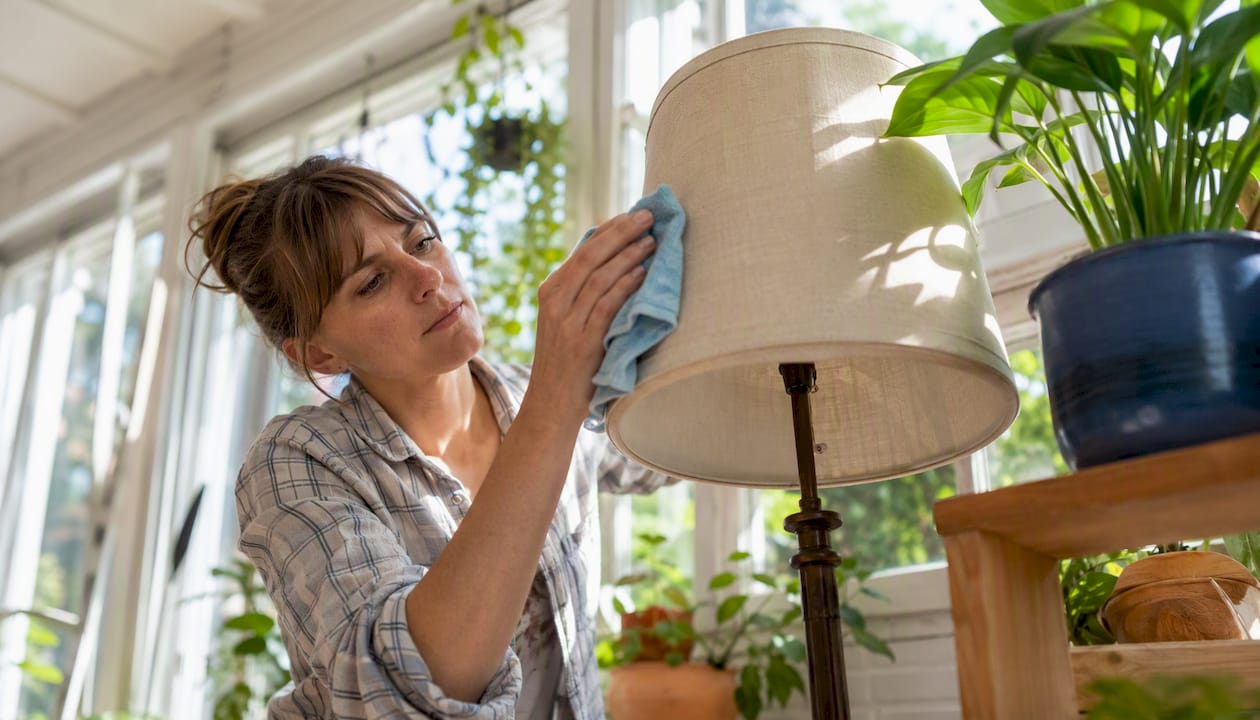
Keeping a lint roller in the same drawer as your cleaning supplies makes that habit nearly effortless. For a broader look at maintaining a clean home between visits, the same principle applies: small, frequent actions beat infrequent deep sessions every time.
Cleaning lamp shades by material: what actually works
The material determines the method. Using the wrong approach on the wrong shade is how homeowners end up with warped frames, bleeding dye, or separated seams.
-
Washable fabric (sewn construction). Start with a lint roller or low-suction vacuum brush to remove loose dust. For spot cleaning, mix a teaspoon of mild, dye-free detergent in lukewarm water, dampen a white microfiber cloth, and blot the stain from the outside edge inward. For a full wash, use the soak method described in the deep-clean section below. Lowe’s care guidance confirms that mild soap and water work well here, provided you avoid bleach and test a hidden spot first.
-
Glued fabric. Dry-dust with a lint roller or microfiber cloth. For spots, use a barely-damp cloth and blot only. Never submerge or soak; the adhesive softens in water and the fabric can pull away from the frame permanently. A dry-cleaning sponge (sometimes called a chemical sponge) dragged lightly across the surface lifts embedded grime without any moisture.
-
Silk and other delicate fabrics. A soft paintbrush or feather duster is the right tool. For pleated silk, work the brush between each fold. No water, no detergent, no rubbing. If a stain is set, an art gum eraser applied with the lightest possible pressure can sometimes lift surface marks without damaging the weave.
-
Paper and parchment. These shades are water-sensitive without exception. Dry-dust with a soft brush, then treat any marks with a white art gum eraser. Rub gently in one direction rather than scrubbing. A dry-cleaning sponge also works well on paper surfaces. Water causes warping, tide marks, and structural failure.
-
Glass and plastic. Dust first, then wash with a mild detergent solution and rinse with clean water. Prudent Reviews notes that buffing with a lint-free microfiber cloth after rinsing prevents streaks. For glass shades with crystal elements, the CrystalPlace chandelier maintenance guide offers detailed techniques for cleaning delicate glass without leaving residue.
-
Metal. Wipe with a damp microfiber cloth and dry immediately to prevent rust or oxidation. A small amount of mild dish soap handles grease. Avoid abrasive pads that scratch finishes.
-
Wicker and rattan. Use a dry brush or low-suction vacuum to clear dust from the weave. A barely-damp cloth handles surface grime. Dry the shade thoroughly afterward; trapped moisture in wicker causes mildew quickly.
How to remove yellowing, mildew, grease, and ink stains
Identifying the stain before treating it saves the shade. Yellowing that appears evenly across the fabric is usually oxidation from heat and age, not a surface stain. Mildew shows as brown or gray spots, often with a faint musty smell. Grease leaves a translucent, slightly darker patch. Ink is usually a defined, sharp-edged mark.
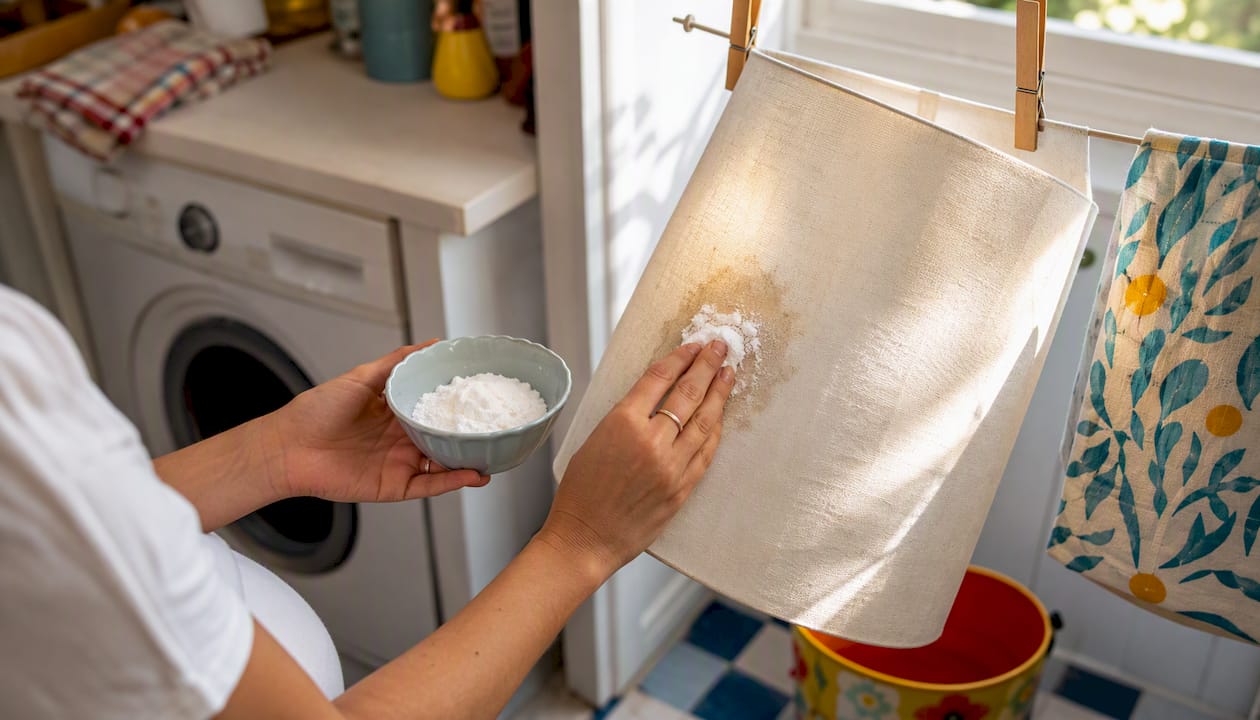
Yellowing. A paste of baking soda and a small amount of water, applied to a white cloth and blotted onto the yellowed area, can lift mild oxidation on colorfast cotton or linen. Let it sit for two minutes, then blot with a clean damp cloth. Do not rub. For shades that have yellowed from years of heat exposure, the discoloration is often structural and no surface treatment will fully reverse it.
Grease. Sprinkle cornstarch on the spot and let it sit for 15–20 minutes to absorb the oil before brushing it off. Follow with a white vinegar solution (one part white distilled vinegar to two parts water) applied to a cloth and blotted onto the area. Test colorfastness on a hidden seam first. This approach works on colorfast cotton and linen; skip it on silk or paper.
Mildew. For fabric shades, Clorox’s specialist guidance recommends targeted treatment rather than general household bleach, which can strip color and weaken adhesive on glued shades. Always test first, follow product instructions precisely, and work in a ventilated space.
Ink. Rubbing alcohol on a cotton swab, applied with a single blotting motion, can lift fresh ink from colorfast fabric. Do not rub or spread the mark. For set ink on delicate materials, an art gum eraser is the safer first attempt.
Do not use: bleach on colored or glued shades, ammonia-based cleaners, undiluted alcohol, or steam on paper or glued shades. Steam softens adhesive and causes paper to warp.
Always perform a colorfastness test before any wet treatment: apply a small amount of the solution to an inside seam or the underside of the lower trim, wait 60 seconds, and press a white cloth against it. Color transfer or adhesive softening means stop immediately.
Step-by-step deep cleaning for washable fabric shades
This method applies only to sewn fabric shades with intact seams and no paper lining. If the shade is glued, stop at spot-cleaning.
Before you start, confirm:
- Lamp is unplugged and bulb is removed
- Seams are sewn, not glued (no visible adhesive bond at the inner frame)
- No paper or cardboard lining inside the shade
- Hidden-area colorfastness test is complete
- You have: mild dye-free detergent, white towels, a clean bathtub or large basin
Soak method, step by step:
- Fill the tub with lukewarm water (not hot) and add one teaspoon of mild, dye-free, perfume-free detergent.
- Submerge the shade and let it soak for no more than 5 minutes. Think of it the way you’d handle a delicate garment: gentle, brief, and attentive.
- Swish the shade slowly through the water. Do not scrub or wring.
- Drain the tub and refill with clean lukewarm water. Rinse the shade by swishing again until no soap remains.
- Lift the shade out and hold it over the tub to drain. Do not squeeze.
- Press a white towel gently against the fabric to blot excess water. Avoid terry cloth if possible; the loops transfer lint. A smooth cotton towel works better.
- Set the shade upright on a clean, dry surface away from direct sunlight and heat sources. A shower rod works well for hanging drum shades.
Hunker’s soak guidance describes this as treating the shade like washing something precious: brief contact with water, no agitation, and careful drying. Allow at least 24 hours before reattaching. If the fabric still feels cool or slightly damp to the touch, it is not dry. Reattaching a damp shade traps moisture against the frame and invites mildew.
If the adhesive softens during the soak and a seam begins to pull away, stop the process, blot the area dry immediately, and allow it to cure flat before assessing the damage.
Mistakes that cause permanent damage to lamp shades
Most lampshade damage is preventable. The errors below account for the majority of ruined shades.
The single most destructive mistake is soaking a glued shade. Water softens the adhesive bond between fabric and frame within minutes. Once the fabric pulls away, reattachment is difficult and rarely looks seamless. Check the inner seams before any wet cleaning, every time.
Electrical safety first. A shade removed from a lamp that is still plugged in is a contact risk, especially if the bulb is hot. Unplug the lamp, wait for the bulb to cool, then remove the shade. This takes two minutes and eliminates the hazard entirely.
Vacuum suction. A vacuum on high suction can pull pleated fabric out of shape, snag trim, or tear delicate materials. Always use the lowest suction setting with a soft brush attachment, and keep the nozzle moving.
Drying errors. Direct sunlight fades fabric and can cause uneven drying that leaves tide marks. A hair dryer on a heat setting can melt synthetic fabrics or soften adhesive. Terry cloth towels transfer lint that embeds in the weave. Air-dry indoors, away from windows and heat vents.
When to stop and call a professional: seam separation that extends more than an inch, visible mold growth (not just surface mildew spots), antique or hand-painted shades with any sign of finish lifting, and shades with beaded or embroidered trim that could be damaged by moisture. These situations call for controlled handling that goes beyond DIY.
When should you hire a professional to clean a lamp shade?
Some shades are worth more than the cost of professional care, and some damage is simply beyond what home methods can reverse. Knowing the line saves both money and a shade you care about.
Call a pro when you see:
- Antique or hand-painted shades where any moisture risk is unacceptable
- Heavy, set-in mildew that covers more than a small patch
- A glued shade where seams have already started separating
- Delicate trim: beading, embroidery, fringe, or metallic thread
Professional cleaners can offer controlled dry cleaning, humidity-managed restoration for delicate fabrics, and in some cases adhesive reattachment. What they generally won’t guarantee: full stain removal on set-in yellowing, or restoring a shade that has already warped from a prior soaking. A reputable cleaner will tell you honestly when replacement makes more sense than restoration.
Questions to ask before booking:
- Do you have experience cleaning lampshades specifically, or only garments?
- Is cleaning done on-site or does the shade leave the premises?
- Are you insured for damage to decorative items?
- What is the estimated turnaround and cost range?
For homeowners who want professional help with the broader cleaning picture, Octomaids’ deep clean checklist outlines what a thorough home cleaning covers room by room. If you’re weighing whether a task is worth outsourcing, the cleaning tasks worth hiring out guide is a practical starting point.
Pro Tip: If a professional recommends replacement, ask them to specify exactly why: warped frame, adhesive failure, or irreversible staining. That answer tells you whether the shade is structurally compromised or just cosmetically tired, which affects whether a new shade or a new lamp makes more sense.
A practical view on keeping shades clean long-term
The homeowners who never need to worry about deep-cleaning their lampshades share one habit: they dust weekly. Five minutes with a lint roller or microfiber cloth, once a week, is genuinely all most shades need to stay in good condition for years.
Dust is not just cosmetic. When it combines with kitchen humidity or bathroom moisture, it becomes a substrate for mildew and accelerates the yellowing that heat alone causes slowly. A shade that gets dusted weekly stays lighter, cleaner, and structurally sounder than one that gets a quarterly scrub.
The small investments that pay off most are a lint roller kept near the lamp, a rubber shade sponge for glued or delicate shades, and a pack of dry-cleaning sticks for spot work without moisture. None of these cost much, and together they cover the maintenance needs of most shades in most homes. Preventative care is the highest-return habit in home maintenance, and lampshades are one of the clearest examples of that principle in action.
Sources
The following sources informed this guide and are worth bookmarking for material-specific questions:
- How to Clean Your Lampshade: A Step-by-Step Guide
- How To Clean A Fabric Lampshade Without Ruining It: Step-By-Step Guide
- How to Clean Your Lamp | Reviews by Wirecutter
Always check the manufacturer’s care label on the shade itself before using any liquid. When in doubt, the label overrides any general guidance.
FAQ
How do you make an old lamp shade look new again?
Start with a thorough dusting using a lint roller or microfiber cloth, then spot-treat any yellowing with a baking soda paste on colorfast fabric, or use an art gum eraser on paper shades. For washable sewn-fabric shades, a gentle soak in lukewarm water with mild dye-free detergent followed by careful air-drying can restore significant brightness.
What cleaning products are safe for lamp shades?
Mild, dye-free, perfume-free detergent diluted in lukewarm water is safe for most washable fabric shades; white distilled vinegar diluted with water works on colorfast cotton and linen for grease. Avoid bleach, ammonia, undiluted alcohol, and steam on glued or paper shades, as Lowe’s care guidance confirms these strip color and weaken adhesive.
Can you clean a lamp shade with a Magic Eraser?
Magic Erasers are micro-abrasive and can damage fabric weave, strip dye, or scratch plastic finishes, so they are not recommended for most lampshade materials. For surface marks on paper or parchment shades, a white art gum eraser is a safer alternative that lifts grime without abrading the surface.
How do you clean a yellowed lamp shade without washing it?
For fabric shades, blot a baking soda paste onto the yellowed area with a white cloth, let it sit for two minutes, then blot clean with a barely-damp cloth and air-dry. On paper or glued shades, an art gum eraser applied with light, single-direction strokes is the dry method that poses the least risk of damage.
How often should lamp shades be deep cleaned?
Washable fabric and glued fabric shades generally benefit from a deep clean every three to four months, while silk and metal shades can go six months between thorough cleanings. Kitchen and bathroom shades, or those in homes with pets, may need attention more frequently because of grease, humidity, and dander accumulation.